In this article you’ll learn how to offer your clients a variety of online payment options, as well as how to customize their online payment form.
Your clients will enjoy a fast and friendly online payment experience with convenient payment forms and calls-to-action.
You get paid faster by giving your clients the freedom to pay through various payment platforms and options.
Get Paid by Sending a Payment Link
Sending your clients a payment link is the simplest and most flexible way for you to collect payments from your clients online.
To send a direct payment link via email, follow these steps:
Step 1: Go to Billing and Invoicing.
Step 2: Click on any of your due/overdue payments.
Step 3: In the page that opens, click on 'Take Payment' button
Step 4: In the window that opens, Pick 'Send payment link'
Step 5: Choose between sending the link via email or SMS
Sending your clients a payment link is the simplest and most flexible way for you to collect payments from your clients online.
Get Paid by Sending an Electronic Invoice
With online payments, clients can pay directly from an invoice you send them. Simply send a payment reminder from an existing invoice. Here’s how:
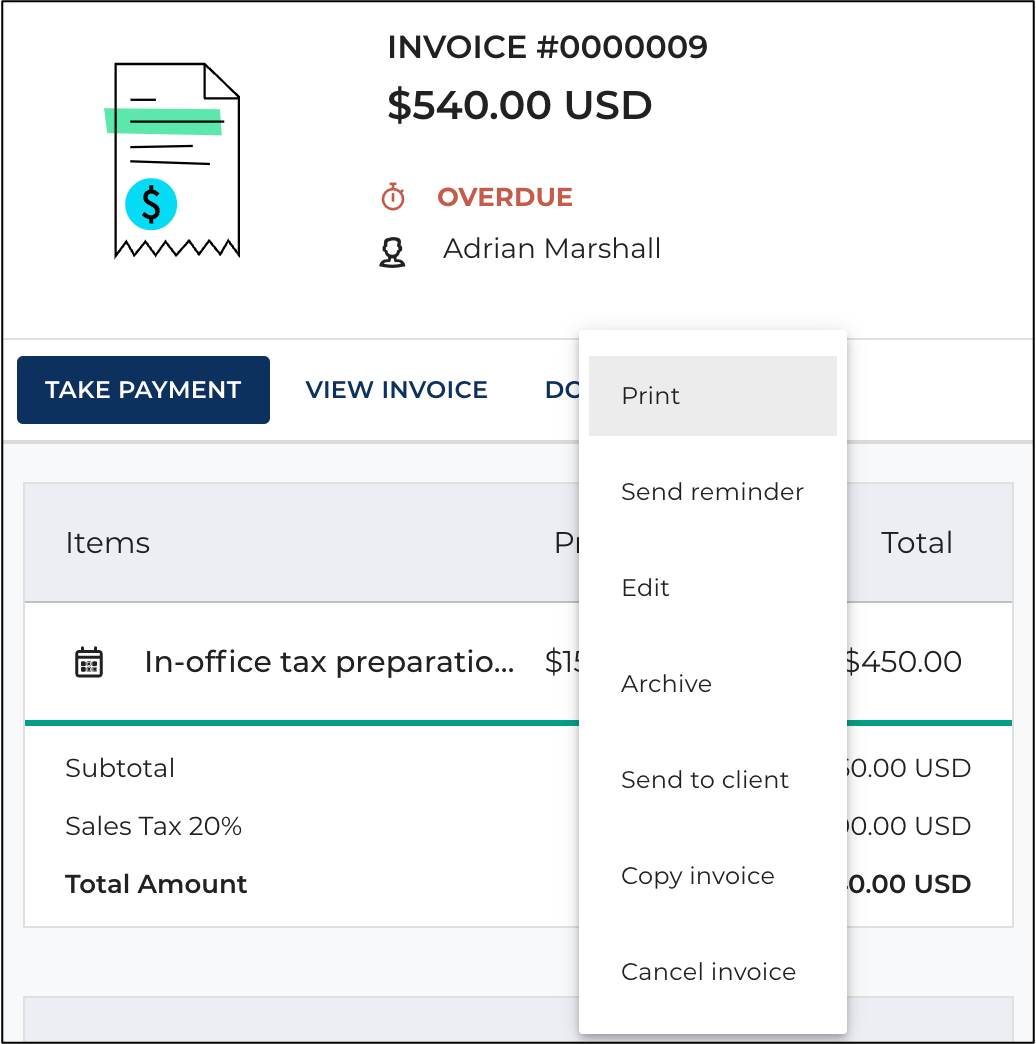
Go to your client’s Client Card, navigate to their Payments tab, click on Overdue or Open payments, and click the three dots icon:![]()
From here, you can send reminder. See below:
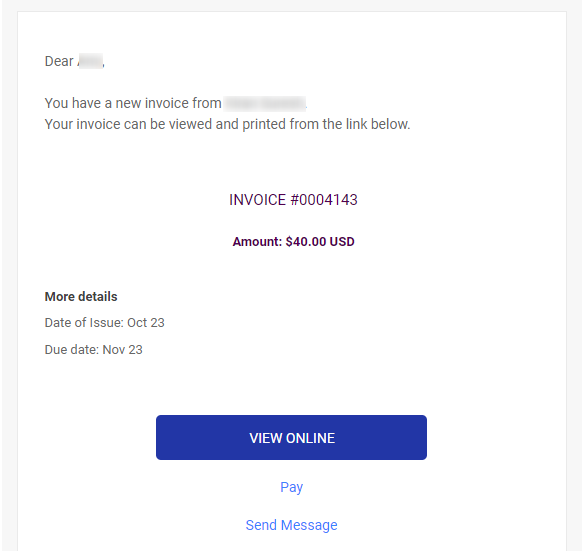
Once you issue and send your client an invoice, they will receive a notification email with a Pay call to action.
The Pay link on the invoice takes them immediately to checkout. See image below:
If you have enabled partial payments in your Payment Settings, clients can even pay their invoices in installments.
Learn more: To learn more about issuing and sending invoices to your clients, go to Creating and Sending Invoices and Estimates.
Self-Service: Get Paid Through the Client Portal
Even if your client didn’t see your invoice or forgot to pay, they could always view their outstanding payments in their Client Portal account.
When logging in to the Client Portal, Clients will be able to see all the open payments in the dashboard. By clicking on the 'Total due' or the 'Payments' on the side menu, they will be able to see all their due & overdue payments, as well as all their payments history.
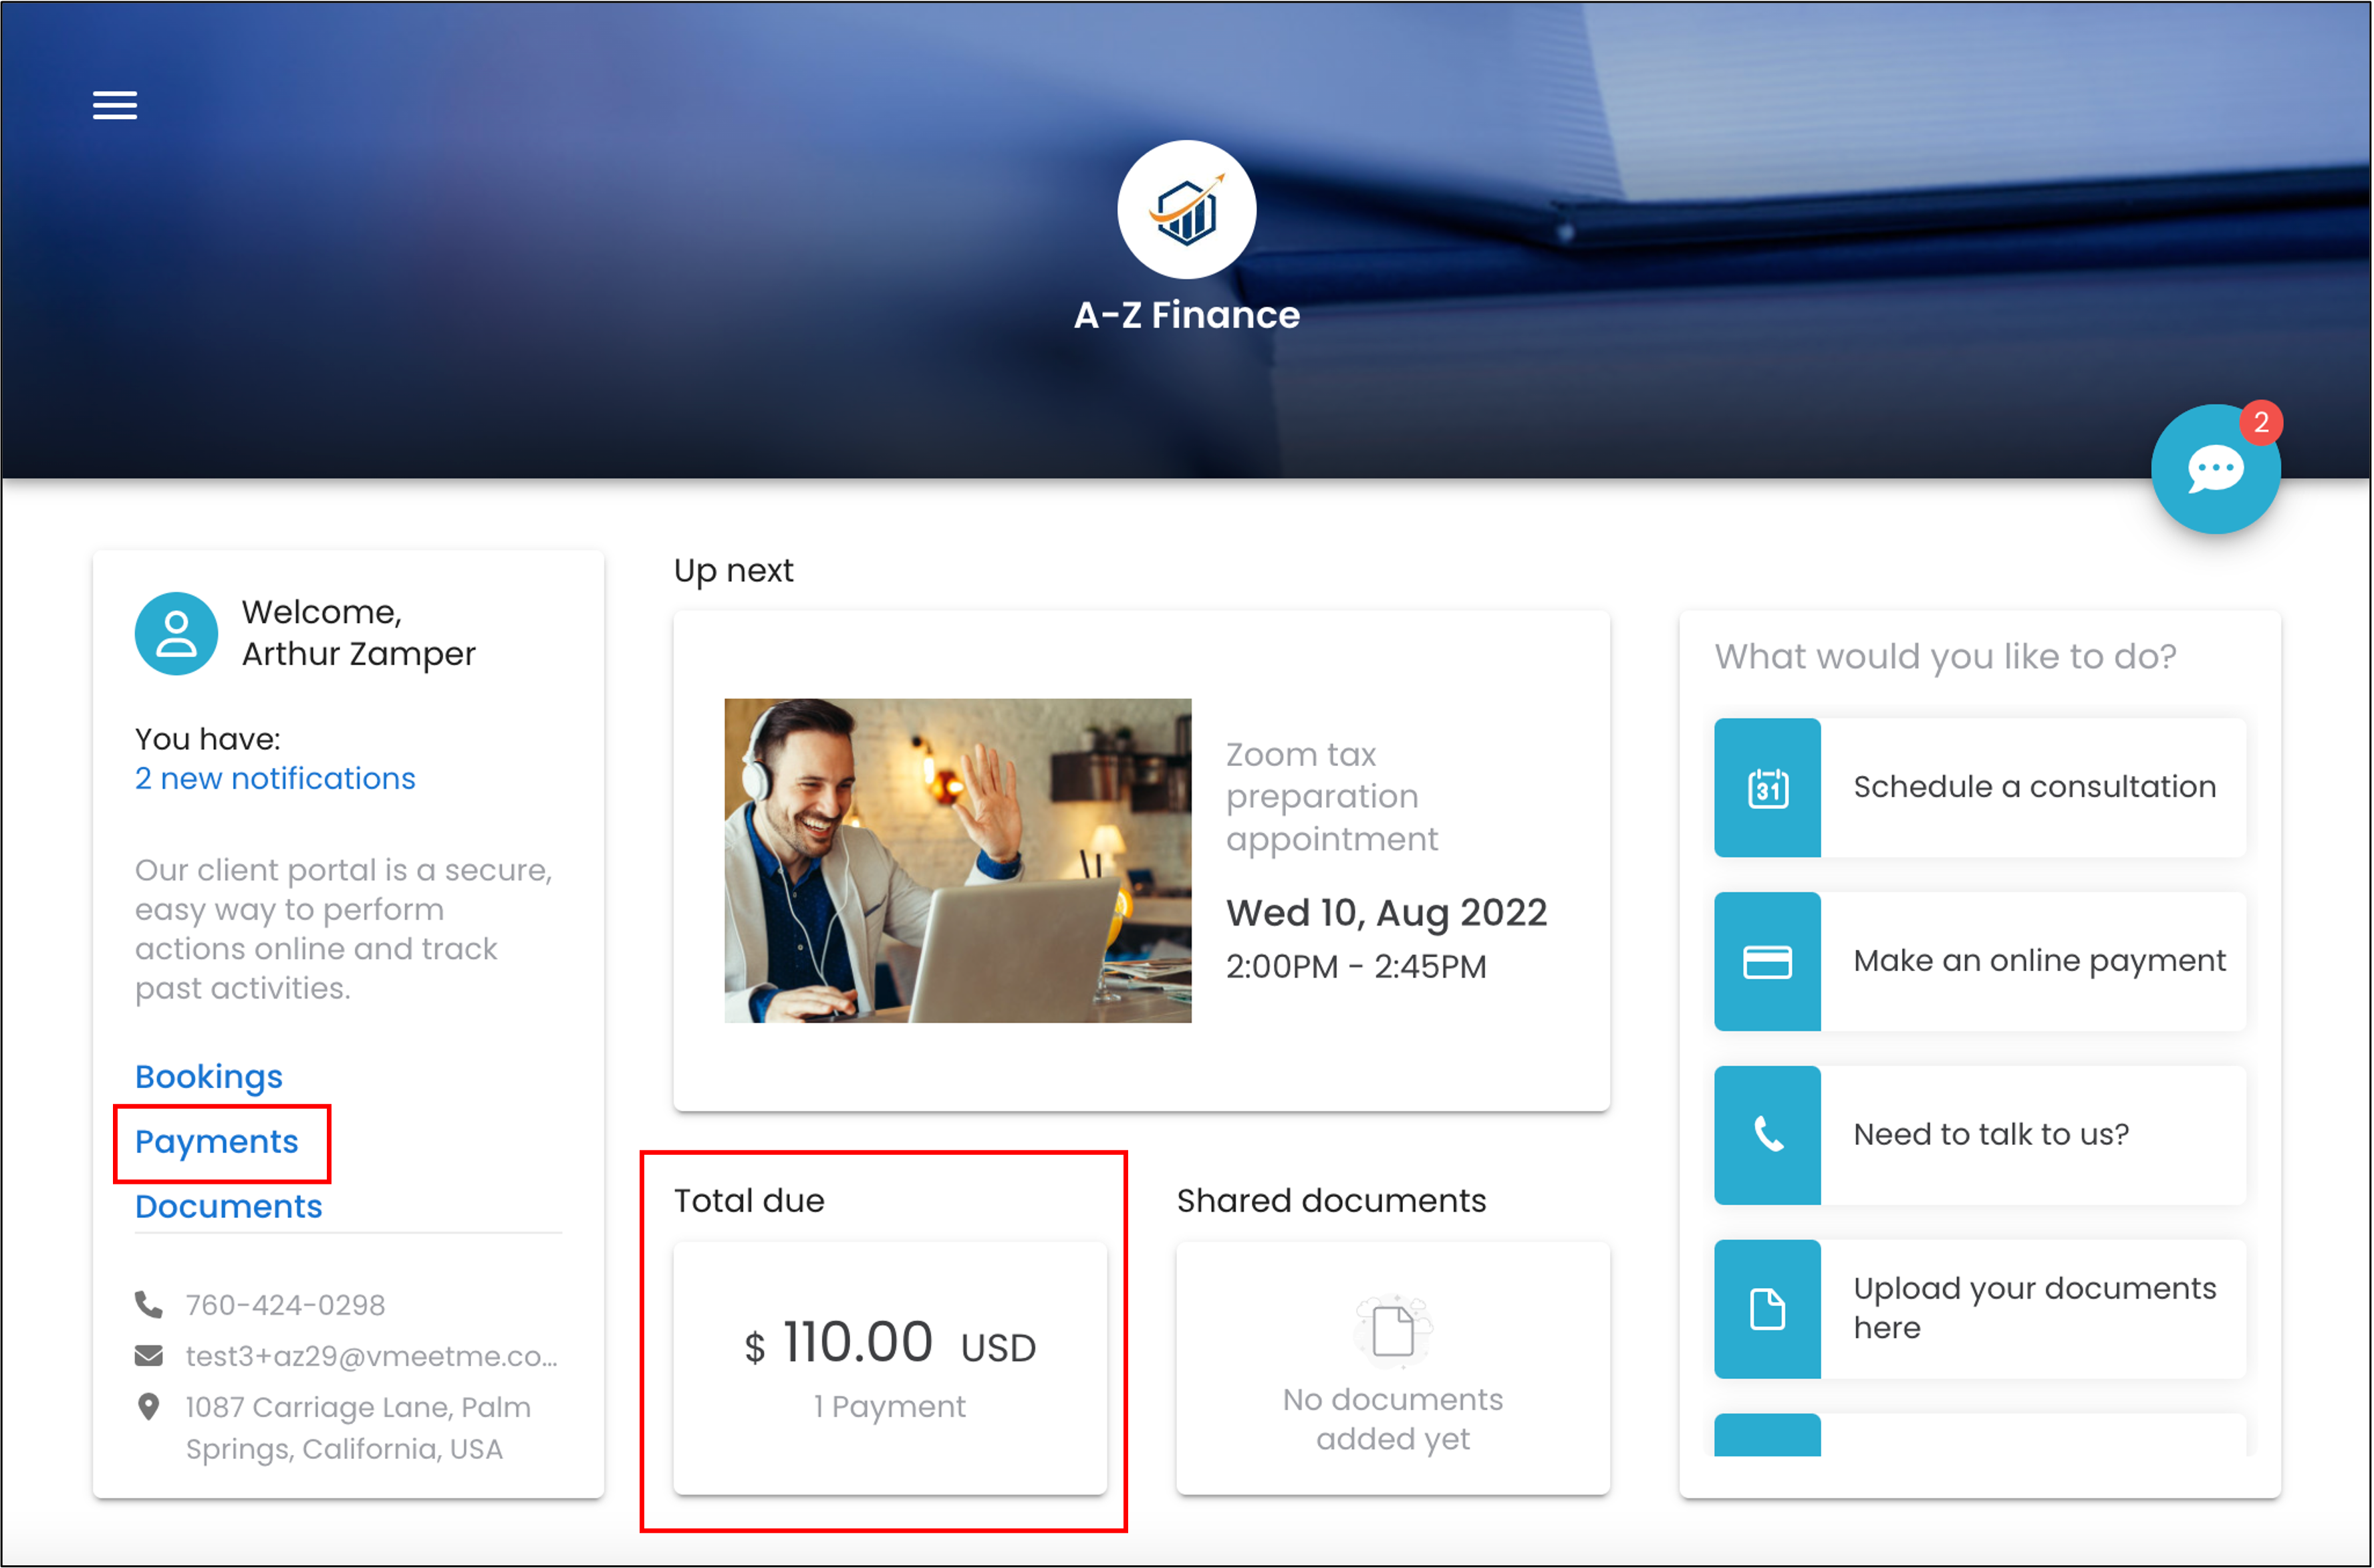
By simply clicking on a pending payment, they will be able to settle their payment through the Checkout button on the spot.
Self-Service: Get Paid Through Website Widgets
If you have embedded widgets on your website, clients can make payments right from your website.
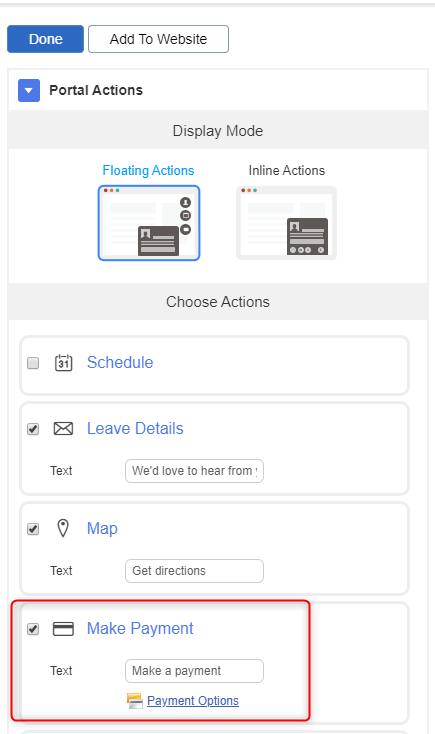
To start accepting payments from your website, go to Online Presence > Website Widgets > Pop-up widget Edit/View.
Then make sure to check the Make Payment action in the portal editor, as shown here:
Learn more: To learn more about how to set up your website, visit the Business & Web Pages article.
Get Paid at the Time of Booking
Collecting payments for services at the time of booking is an excellent method to secure your revenues and eliminate late payments.
Here’s how you make sure clients pay upfront for an appointment or service:
Step 1: Go to your Settings tab in your main menu and click on My Services.
Step 2: Select any service for which you want to create this payment requirement.
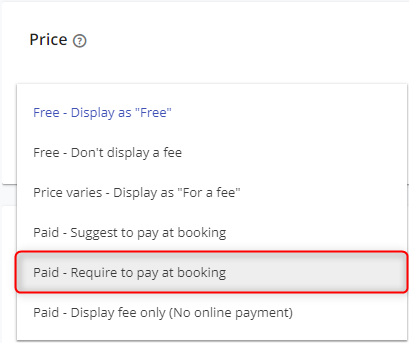
Step 3: Scroll down to Price, and click on the Service fee options drop-down menu.
Step 4: Select Paid - Require to pay at booking.
Step 5: Enter your desired Fee for the service, and click on Done to save your settings.
Learn more: Learn how to customize the information your clients fill out when they make a payment online by visiting the Online Payment Forms and Payment Experience article.